We’re all living in probably the most uncertain times in our lives – pandemic times. All schools are closed, all social events: conferences, meetups, even fitness classes are canceled until no one knows when. Everything possible moved online. Sometimes it looks like the whole world became virtual.
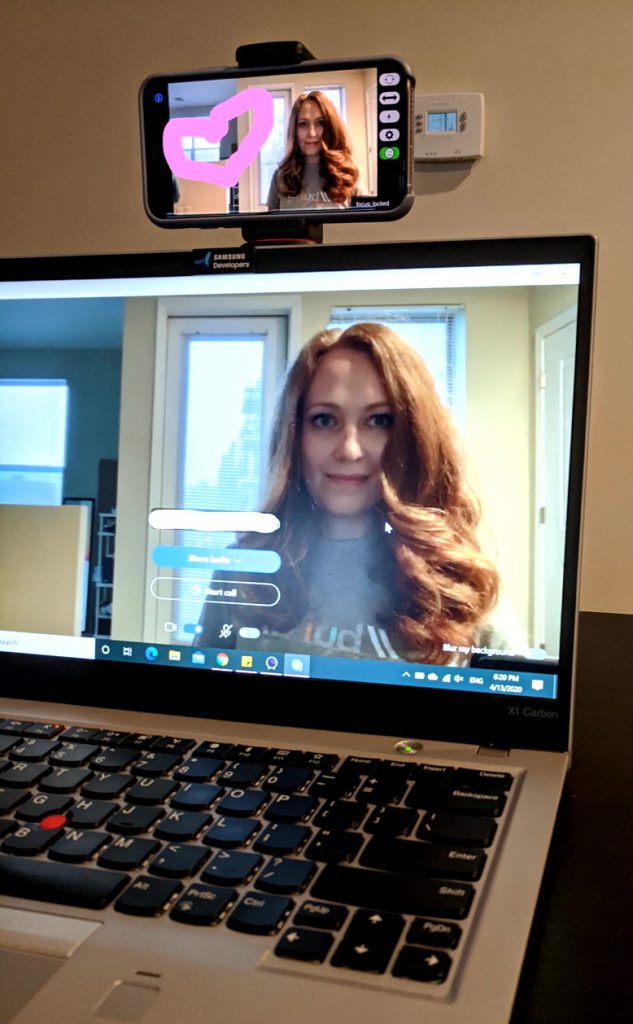
With people stuck at home and lots of activities moved to virtual format, speakers, fitness instructors, dance teachers, school and college teachers, everyone needs a webcam: either it’s a built-in one or external one. I decided that an external webcam will provide better quality and the option to move it around to find the perfect angle.
As a public speaker who prefers in-person events, I never really needed a webcam. Now I decided it was an excellent time to get one. I checked online stores and was disappointed. I hinted at the beginning of this post that everyone needed webcams, so they were either sold out or had a ridiculous price tag (a decent one started from $200).
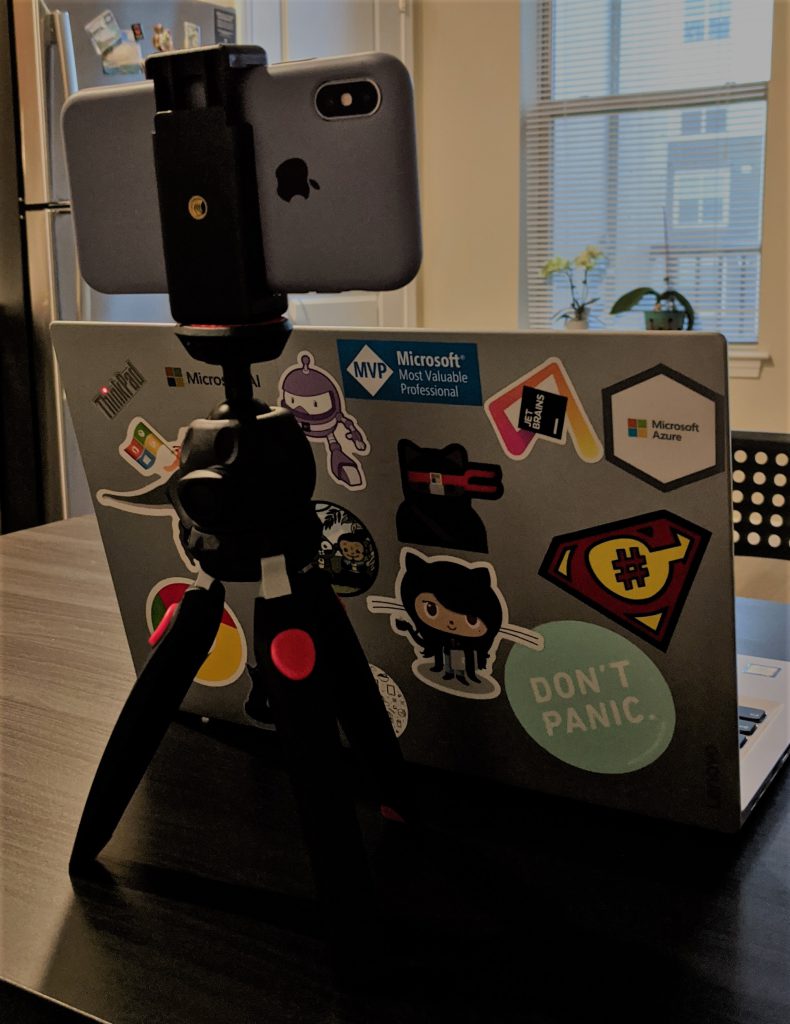
Based on the recommendations and my personal research, I decided to use my iPhone as a webcam. Why would I spend $200 extra when I’ve already spent more than $1000 on a thing that can do everything, right? Before I tell you how you can do it, I want to mention that a tripod or other type of holder is very important unless you want to hold the phone in your hands or have a different place to put it. There’re different types of holders. I was deciding between a gooseneck type and a tripod. I ended up with a tripod only because I want it to be usable in case I buy an actual webcam later. Tripod gives that flexibility because it has several mounts for cameras, GoPro’s, phones, webcams, etc. It is not typical for a “gooseneck” holder to have those mounts. It depends on how much money you are willing to spend. I decided to save money and chose this one. There’re many similar options online, so that’s probably not the best one, but it worked great for me.

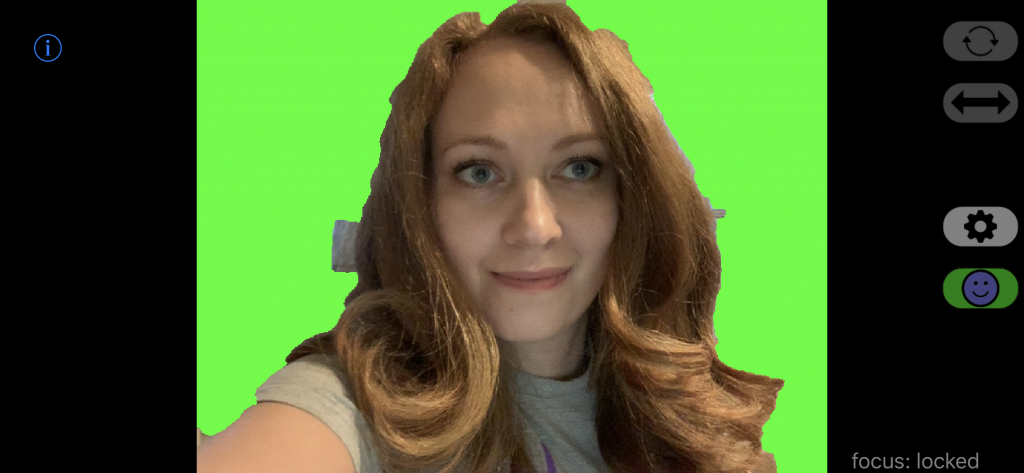
Now, when the hardware is purchased, we can move to the software part. In order to sync video from iPhone (or Android) to the computer, you need to get a camera app. There’re a lot of options available. I learned about the most popular ones from this article. The one I ended up using was EpocCam. I tried a free version first and was impressed by how easy it was to set up everything and how I could choose between back and front cameras for my videos. I used it during several meetings to see how it works. If you don’t mind adds and white text in the bottom of your video (it’s not there all the time, but still), you can use the free version; if not, the paid version is $7.99. But the trick is when you decide to get the full version, you’re getting a new app installed on your iPhone. It’s confusing. The paid version includes Full HD support, different types of connection: USB, WiFi or NDI, if you’re using back camera, you can turn the flash on to use it in darker places, zoom-in and out and it can replace your background with green, blue or magenta color (in case you forgot to clean make your bed before starting your stream). I wouldn’t recommend using the background option because the quality of person detection is pretty low, so edges around your face are far from perfect.

To sum it up, I want to tell you: if you need a webcam, but don’t want to spend a lot of money, and you have a smartphone with a pretty good camera, you can use it as your webcam. We’re living in a crazy time right now, so let’s be resourceful. I hope to see all your videos online, whether it’s a webinar, live stream, or just a video showing something you’re passionate about. Stay safe and healthy!
